The Best Alternatives to Neat Video Noise Reduction Software
Neat Video is the gold standard when it comes to noise reduction software. It is one of the few solutions that can intelligently reduce noise while keeping footage looking natural and not like a cheap horror movie. However, it is not the only noise-reduction software on the market. If you’re working on a shoestring budget or don’t shoot enough video to make the investment worthwhile, you don’t need to panic just yet. There are plenty of excellent alternatives out there that won’t cost you an arm and a leg but still do an exceptional job of removing unwanted noise from your footage. In this blog post, we’ll take you through some of the best alternatives to Neat Video Noise Reduction software.
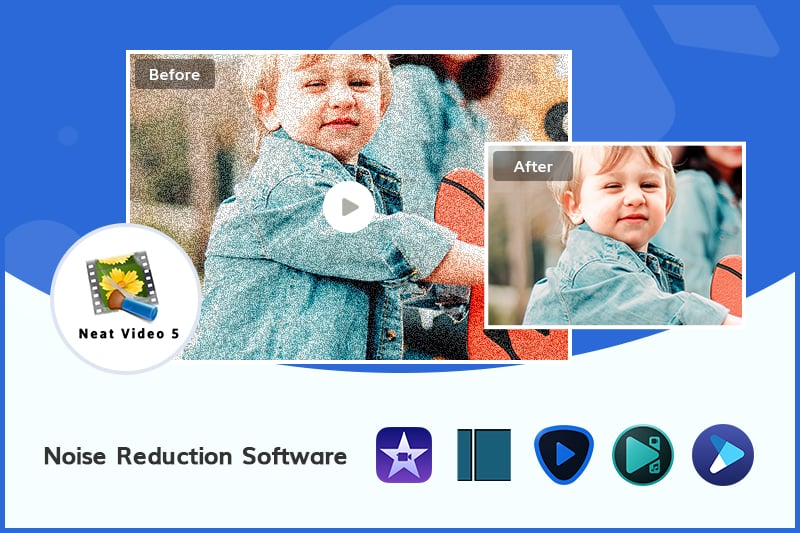
Part 1: How Noise Reduction Software Works
The most common types of noise that can appear on your video are:
Dark noise - This type of noise is a black or dark blue color that is visible in low-light conditions. It is also known as thermal noise or Johnson noise.
Color noise - This is the most common type of noise. It appears in the form of blue, cyan, or magenta blotches. To reduce color noise, you will need to use a color filter.
Pixelation - This type of noise appears as square blocks of color or dots. It’s caused by low-resolution video recording.
Noise reduction software is designed to remove noise from your footage in order to improve the quality. It works by analyzing the footage and comparing it to a clean version of the same footage. This allows the software to identify the noise and come up with a solution to reduce it in your footage. Some noise reduction software also comes with tools that let you manually adjust the amount of noise reduction. These tools are helpful if you are trying to reduce certain types of noise without affecting other parts of the video.
Part 2: How to Use Neat Video to Reduce Video Noise
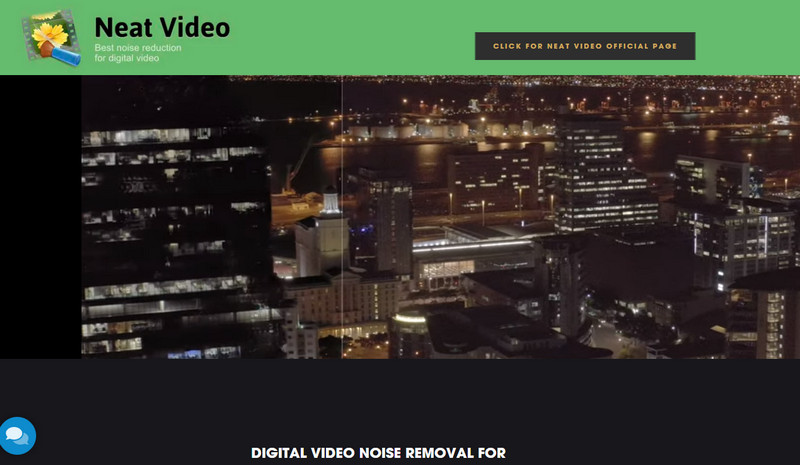
Neat Video is a powerful noise reduction software for video editing in post-production. It is designed to analyze and reduce noise including film grain and digital noise originating from both external and internal sources. The software’s algorithms will analyze your footage and then remove unwanted noise, like: Sensor dust - Dust particles or flecks on the camera sensor. Thermal noise - Hot pixels in an image caused by electronic or thermal noise. Black level - Black level is noise in the darkest parts of the image. CCD noise - CCD noise can be caused by poor camera sensor placement, etc. It is a very powerful tool, and it requires a good amount of skill and knowledge to get good results. That is why many people prefer using an easier-to-use and less expensive alternative.
PROS
- * Easy to use interface
- * Instant plugin download
- * Produces major results
CONS
- * Slow render times
- * Sometimes come out a little bit blurry image
Steps to Use Neat Video to Reduce Video Noise.
Take Premiere Pro as an example.
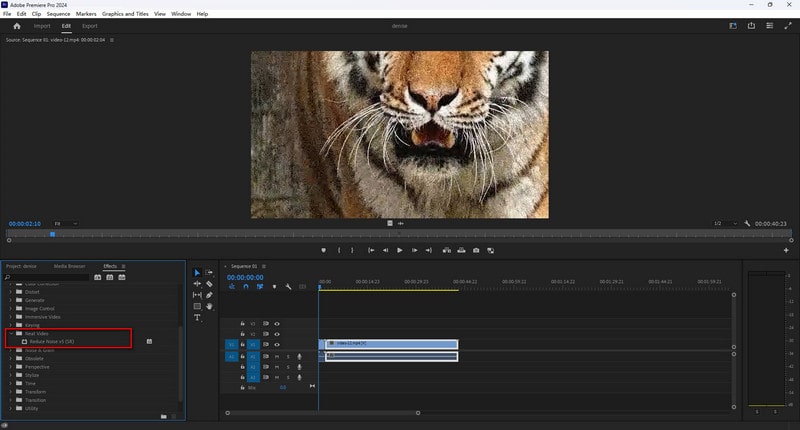
- Download the Neat Video plug-in for your editing tool. Install the plug-in and make sure the destination path is within your editing program files.
- Open up your editing software, e.g.Premiere Pro, for context and you will find the plug-in is already imported in the effects panel.
- Drag and drop the effect onto your clip. Open the main interface of the plug-in.
- Create a noise print. Click the Auto Profile button to check if the auto-selected area is suitable for the profile or not. If it is not satisfied, you can manually select an area and build a profile.
- Head over to the "Adjust and Preview" tab to look at your noise version.
- Once you are finished, click "Apply" and the effect will be added to the clip.
Part 3: Top AI-Based Alternatives For Video Denoising
With advancements in artificial intelligence (AI) technology, video denoising has seen remarkable improvements through innovative AI-based alternatives. By harnessing the power of machine learning and neural networks, these solutions are revolutionizing the way we address noise-related issues in videos. The top AI-based video denoisers are:
AVCLabs Video Enhancer AI: One of the Best Advanced denoise software in the market, thanks to its AI algorithm.
Topaz Video Enhance AI: One of the favorite post-production video editing tools for professional photographers
Pixop Denoiser: A smart AI video tool based on the cloud.
1. AVCLabs Video Enhancer AI
Compatibility: Windows 11/10 (64bit) & Mac OS 10.15 and above using Apple M1 Chip
Price: $39.95/Month, $119.95/Year, $299.90/Lifetime (Free to Update and Upgrade)
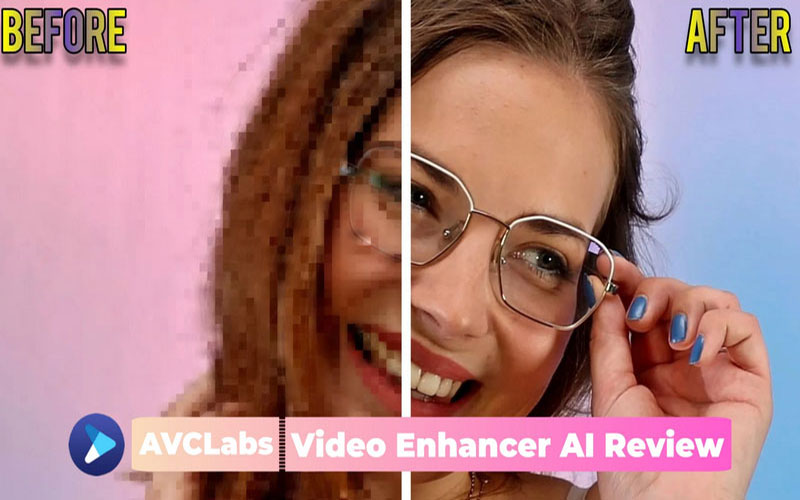
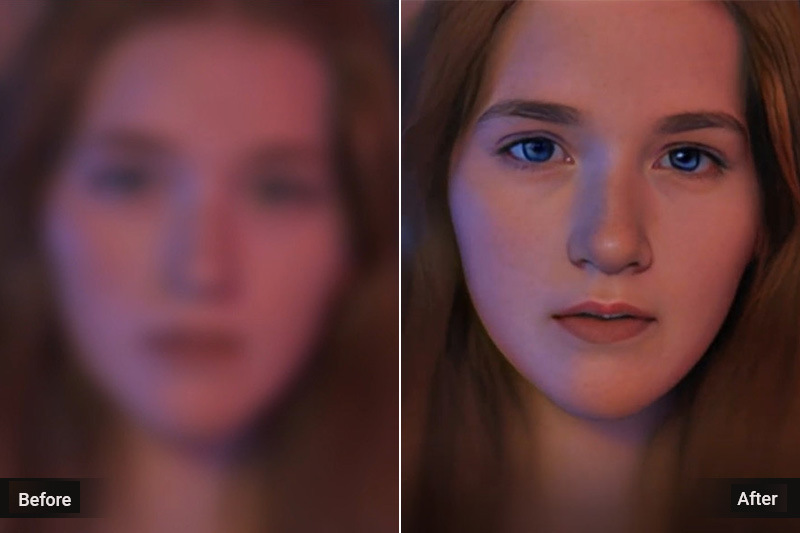
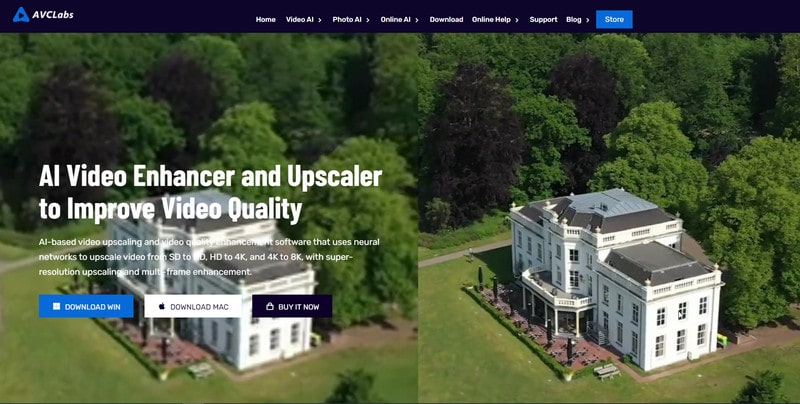
AVCLabs Video Enhancer AI is a great option for those looking for an AI video denoise solution. The dedicated Video Noise Removal model enables you to denoise in video, and ensure the preservation of texture quality and details as much as possible, leading to better visual experiences. AVCLabs utilizes deep-learning-based compression artifacts removal to comprehensively remove compression artifacts, without a serious loss of existing detail. Thanks to AVCLabs Video Enhancer AI, you can easily improve the quality of your videos with just a few clicks!
PROS
- * Does an excellent job of removing noise and adding detail
- * Diverse subscription methods and user-friendly
CONS
- * Requirements for computer system configuration
- * If the computer does not have a dedicated graphics processor (GPU), its processing speed may be slightly lower.
Key Features of AVCLabs Video Enhancer AI
- Real-time video upscaling with AI technology for improved resolution and detail.
- Advanced noise reduction algorithms for cleaner videos.
- Automatic color grading for a professional look.
- Easy-to-use interface with intuitive controls for beginners and professionals alike.
- Support for various input formats including MP4, MOV, MKV, and more.
Step 1: Install and Launch AVCLabs Video Enhancer AI
Download AVCLabs Video Enhancer AI from the AVCLabs Website, then click to launch it.

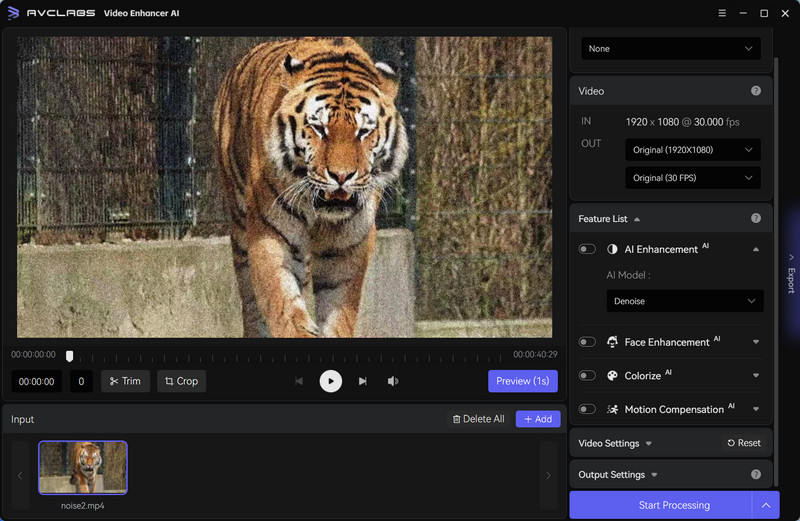
Step 2: Add the Noisy Video to AVCLabs Video Enhancer AI
Just click the "Browse" button to import your noisy video to the program or you can also drag your video to upload.
Step 3: Choose the AI Model and Resolution
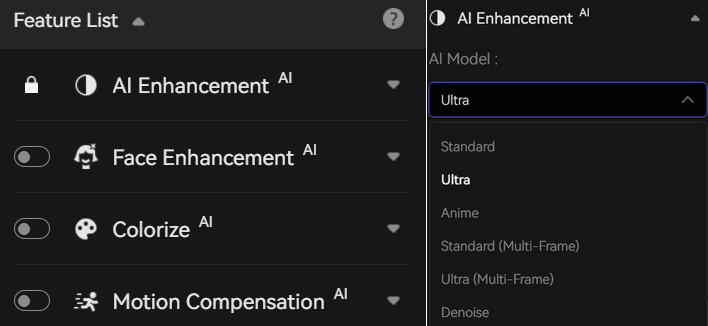
On the right panel of AVCLabs Video Enhancer AI, you can enable the AI Enhancement and choose Denoise as the AI model.
Step 4: Adjust Your Video
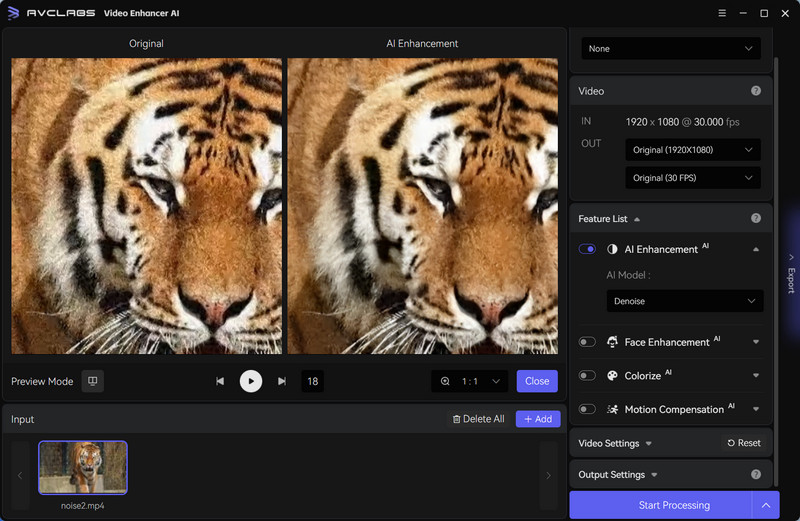
If you find that the original video has problems such as video brightness in addition to noise, you can adjust the brightness, contrast and saturation of the video by enabling "Video Settings" on the right side of the program.
Step 5: Start Denoising Video
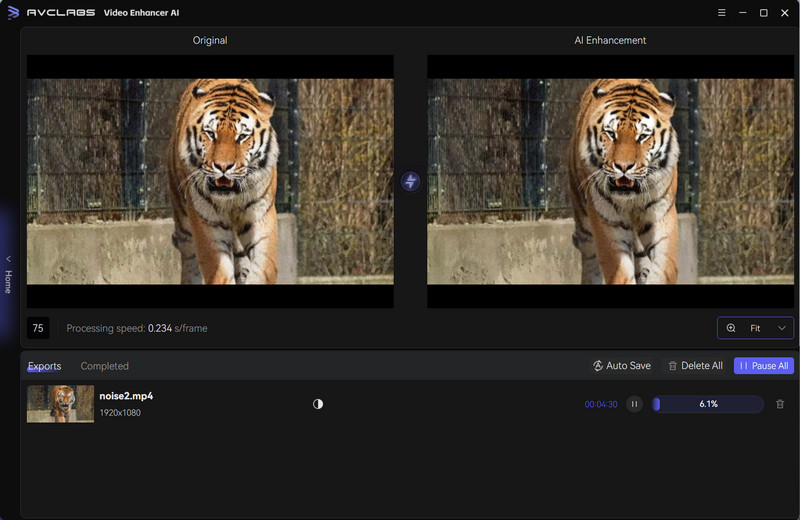
After everything is ready, just click the "Start Processing" button to start denoising your video.
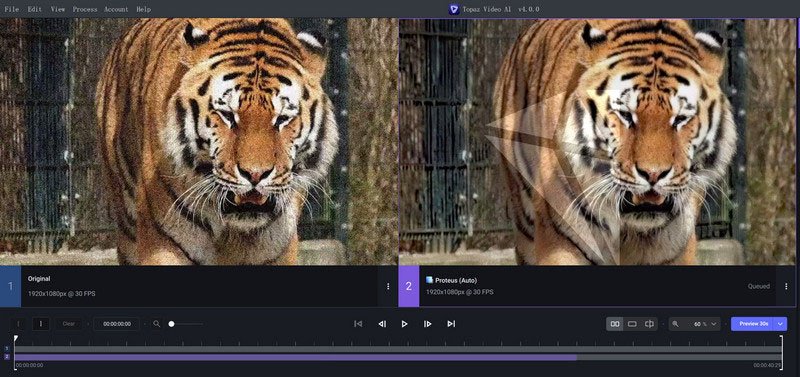
2. Topaz Video Enhance AI
Compatibility: Windows 10, 11 (64 bit only) & Mac 10.14 Mojave and above
Price: $199.9 (includes an update of one year) and $99 for an upgrade license
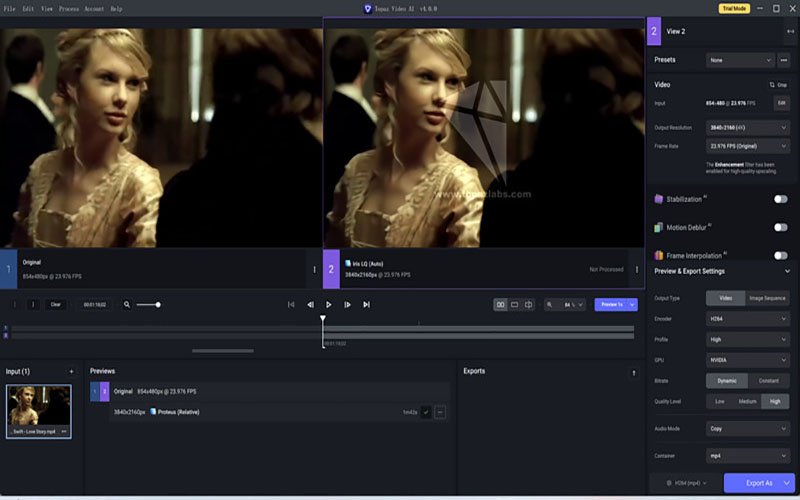
Topaz Video Enhance AI is a powerful video enhancement tool that can improve the quality of your videos. It uses artificial intelligence to enhance the resolution, color, and sharpness of your videos. Topaz Video Enhance AI also supports up to 4K resolution and can help you improve the quality of your videos without compromising on quality.

PROS
- * Remove ISO noise
- * Effective deinterlacing working for your video to give it a natural finish
CONS
- * Sometimes introduce artifacts into the video
- * Expensive to use
- * Needs high system requirements for a smooth performance
Simple Steps of Noise Reduction:
- 1. Download and install the program.
- 2. Launch it and open your video file.
- 3. To get the best noise reduction results, go to the "AI Model" section and select Nyx from the dropdown menu.
- 4. In the "Nyx" model, simply adjust the "Reduce Noise" and "Reduate Large Grain" sliders until you achieve the desired outcome.
- 5. Export the video for viewing or further editing.
3. Pixop Denoiser
Compatibility: With Pixop being cloud-based, all you require is a web browser, internet connectivity, and a Pixop account.
Price: No subscription fees. Only pay for what you use in processing (priced per gigabyte)-- Pixop Denoiser($0.413/gigapixel).
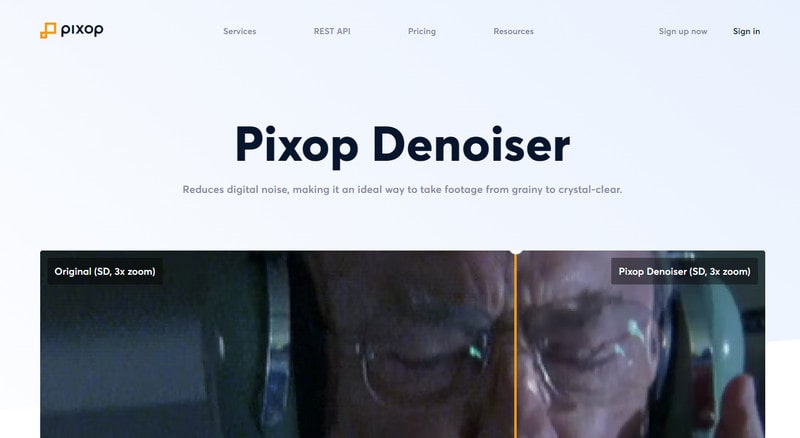
Pixop Denoiser is a cloud-based AI video denoiser. This solution can efficiently reduce noise in digital videos automatically, eliminating the need for manual adjustment of multiple parameters and noise profiles using standard video editing tools and plugins, which can be time-consuming.
PROS
- * The AI model does things like enhancement, stabilization, and noise reduction automatically.
- * Can produce much better results than manual enhancement.
- * Enable you to watch videos before making any changes.
- * Provide a free plan that lets you create 10-second previews.
CONS
- * Limited options available for adjusting video quality.
- * Unable to produce videos in 4K resolution.
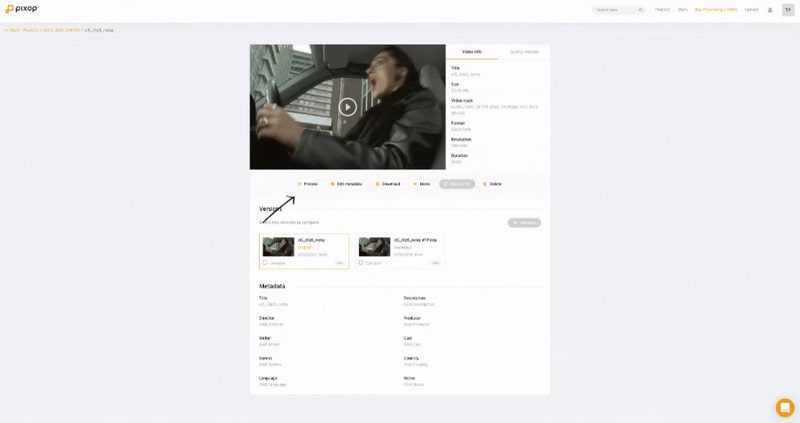
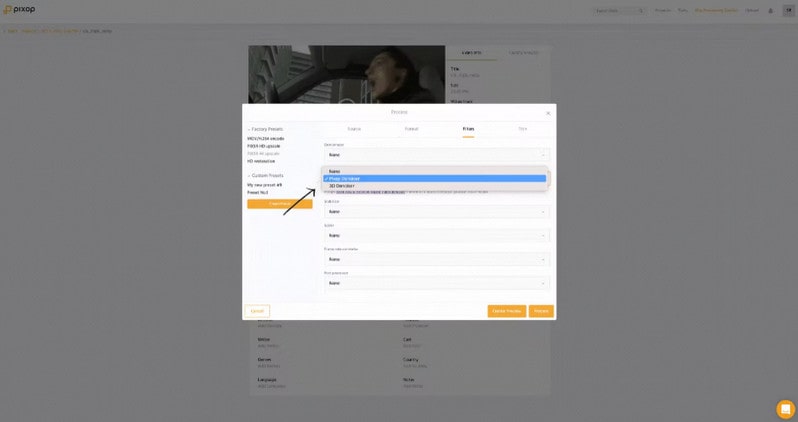
Simple Steps of Noise Reduction:
- 1. Upload the video you want to denoise
- 2. Once it's done uploading, click "process".
- 3. Choose "Pixop Denoiser" under filters.
- 4. Click "process".
Part 4: Other Alternatives to Neat Video Noise Reduction
Besides AI tools, there exists a variety of alternative solutions to Neat Video that cater to different user preferences and requirements. These alternatives offer diverse approaches to tackle noise issues and provide users with options. They are:
iMovie: Mac users getting started with video editing
VSDC Free Video Editor: Powerful free video noise reduction software for Windows OS
Shotcut: One of the best free video editing software programs
1. iMovie
Compatibility: Mac and Mobile APP Version
Price: Free
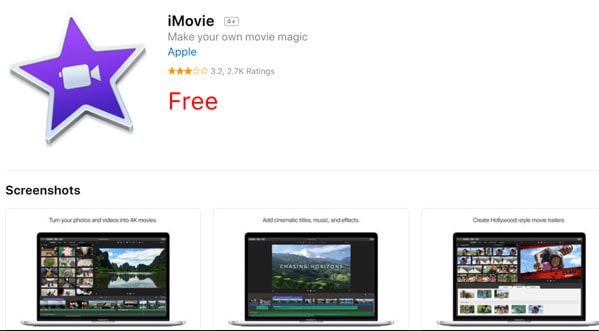
iMovie is a basic video editing software application developed by Apple Inc. for the Mac and iOS platforms. iMovie allows users to create and edit videos, including adding titles, transitions, and music. The noise reduction feature in iMovie can help you get rid of unwanted background noise in your videos. This can be helpful if you're trying to improve the audio quality of a video that you recorded in a noisy environment.
PROS
- * Free with every Mac
- * The interface is intuitive and incredibly user-friendly
- * Easy to operate
CONS
- * Advanced users may find functionality a bit limited
- * Import and render times can be a bit slow
- * For Apple products only
Steps of Noise Reduction:
- 1. Open the video in iMovie.
- 2. Select the portion of the video that you want to remove noise from.
- 3. To show the noise reduction controls, click the Noise Reduction and Equalizer button.
- 4. Select the "Reduce background noise" checkbox.
- 5. Drag the slider right to increase the amount of background noise reduction, or left to decrease it (100% represents the maximum reduction).


2. VSDC Free Video Editor
Compatibility: Windows
Price: Free
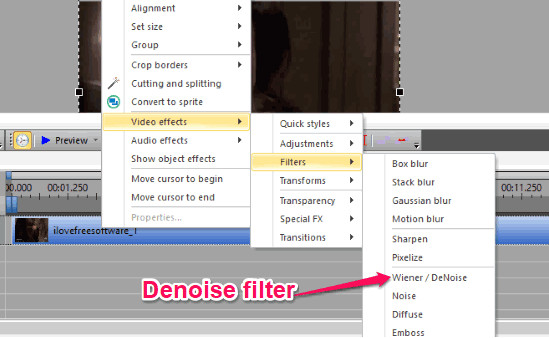
VSDC Free Video Editor has a simple and intuitive interface that makes it easy to get started with video editing. You can import videos from your computer or from popular online services such as YouTube and Facebook. Once your videos are imported, you can use the various editing tools to trim, crop, rotate, denoise, add effects and more.

PROS
- * The free version has a powerful set of features
- * Relatively straightforward to learn
CONS
- * Windows only
- * Technical support is charged
Steps of Noise Reduction:
- 1. Start by downloading and installing VSDC Free Video Editor.
- 2. Once it's installed, launch the program and open your video file.
- 3. Click on the "Effects" tab and then scroll down to the "Noise removal" effect.
- 4. Drag and drop the effect onto your video track.
- 5. Adjust the settings to taste and then click "OK".
- 6. Export your video and enjoy the improved quality!
3. Shotcut
Compatibility: Windows, Mac, and Linux
Price: Free
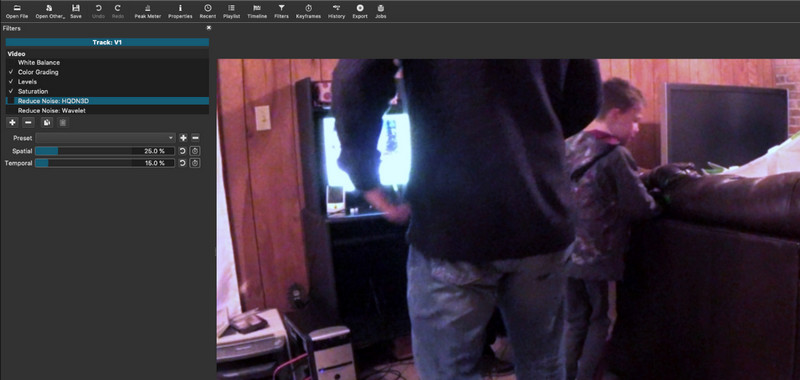
If you are a PC user, you can use the free and open-source video editing application called Shotcut. This video editing application comes packed with different audio and video effects, filters, and more. One of the most useful features that comes with Shotcut is the video noise reduction effect. This video noise reduction effect can be applied to both audio and video recordings. You can select the video noise reduction effect from the video effects tab in the video editing interface. There are different sliders available for you to use. These sliders will allow you to adjust the amount of noise reduction, brightness, and contrast in the video. Shotcut is a very robust video editing application, and it can be used to create a wide variety of video projects. You can use the video noise reduction effect in Shotcut to reduce the amount of noise in audio or video recordings.

PROS
- * Support a wide range of video formats and codecs, including 4K Ultra HD
- * Scrubbing and transport control
CONS
- * The interface can be a bit intimidating for beginners
- * There are no inbuilt profiles available
Steps of Noise Reduction:
- 1. Load the video into Shotcut.
- 2. Click on the "Effects" tab.
- 3. Expand the "Noise & Grain" section.
- 4. Drag the "Noise Reduction" effect onto the video clip in the timeline.
- 5. Adjust the settings of the noise reduction effect to taste.
- 6. Export the edited video file.
Part 5: Conclusion
Noise reduction is an essential part of post-production, and it is something that you will have to do in every video project that you work on. So it’s important to choose the right software for the job. If you want to look at some of the best alternatives to Neat Video, we hope that this article has helped you learn more about noise reduction and the best alternatives to Neat Video noise reduction software.

